Eight Fun and Easy Microscope Experiments for Kids
Looking for some microscope experiments for kids that are cheap, easy, and fun? These simple science experiments will help you encourage curiosity while beating boredom. They'll also give you a chance to bond with your child or student, and maybe even learn something new together!
The key to having fun with microscopes is proper slide preparation. If slides aren't prepared correctly, you run the risk of not seeing anything and trying everyone's patience.
So read the directions thoroughly, make sure you understand what you're about to do, take your time, and make it fun. Part of the excitement lies in setting up the experiment. You're mad scientists, remember?
Before we get started with microscope experiments for kids, please keep the following in mind:
- This article assumes you have a microscope and know how to use it. Please review the rules for basic microscope use and safety before you start. You can also review the article on compound microscope parts if you need to remember what's what.

- When looking at slides, always start with the lowest power objective. Work your way up to the higher magnifications.
- Beware all the sharp things! Slides can break, blades can slip, and scissors can cut. Always supervise young children with sharp tools.
- Some of these microscope experiments for kids call for a biological dye called methylene blue. This dye highlights the shape of cells and makes them easier to see. It's cheap and simple to work with, although it can stain fabric and is toxic if ingested so it's best used with supervision. You can buy Methylene Blue Microscope Slide Stain Solution at Amazon.
- Before you begin, you may want to refresh yourself on making microscope slides.
- Another fun and educational project is drawing microscope slides. Learn to draw what you see.
List of Microscope Experiments for Kids
1. Spider Web - Clear nail polish is all you need to see how amazing a spider web really is.
2. Cheek Swab - Take a painless cheek scraping to view the cells in your own body.
3. Onion - A simple layer of onion skin is a great introduction to looking at plant cells.
4. Pond Water - Your favorite pond may be teeming with more life than you think.
5. Fiber - Different types of fabric have fascinating textures.
6. Hair - Cool or Gross? Close-ups of hair reveal fascinating facts.
7. Salt vs. Sugar - The differences between salt, sugar, and other spices go beyond taste.
8. Money - See how incredibly detailed money is by zooming in on a $1 bill.
1. Microscope Experiments for Kids: Spider Web
A spider web makes a simple science experiment. Be careful when dealing with unfamiliar species of spiders!
Materials:
 By Josef F. Stuefer (originally posted to Flickr as [1]) [CC BY 2.0], via Wikimedia Commons
- Spiderweb
- Clear nail polish
- Plain glass slide with coverslip
Instructions:
- Find a spider web. One that looks new and complete will be the most interesting, but an old piece of one may work too (if you're the type that never dusts). See if the spider is still on the web. If you see it, you can brush it gently away. Please don't kill a spider just for this experiment! And please protect yourself as well; know the poisonous spiders in your area.
- Place a thin layer of nail polish on the slide. Let it dry until it's not wet, but still sticky (about a minute). Try not to touch it.
- Carefully place the slide against the thickest part of the web, sticky side first so you can capture it.
- Once the web is attached, pull the slide gently towards you. Now you can "cut" your web piece free by removing the rest of the strands with a stick. You should now have a piece of the web stuck to the slide. If not, try repeating with another part of the web or one of the free-hanging strands.
- Press the cover slip over the slide.
- View the slide under a microscope. Now you'll see how easy it is for a bug to get stuck.
Adapted from this great microscope project at Great Scopes.
2. Microscope Experiments for Kids: Cheek Swab
 By Joseph Elsbernd [CC BY-SA 2.0], via Flickr
This fun experiment requires the use of a microscope stain to better see the cell parts. Methylene blue is recommended. It's easy to find, cheap, and will last you through many experiments.
Materials:
- Toothpick (as wide and flat as you can find)
- Plain glass slide with coverslip
- Methylene blue
- One human cheek
Instructions:
Scrape the toothpick along the inside of your cheek. The action should be firm, but you don't have to hurt yourself. Wipe the toothpick on the center of the slide. Optional: Create a "smear". Line up the coverslip with the slide and wipe the edge over your specimen, spreading out your cheek scraping into a thin layer. This makes the cells more visible as you're essentially smearing the sample across the slide. (This action is often performed with blood samples). If the sample is wet, let it dry for a few minutes. Then add a drop of the stain. Please note: many biological stains, including methylene blue, are toxic if ingested. Wear gloves, supervise little ones, and (obviously) don't drink it! Gently place the cover slip over the slide and view under a microscope. Start with the lowest power objective and work your way up. Can you see the nuclei and individual cells?
3. Microscope Experiments for Kids: Onion
You know that thin membrane between the layers of an onion? It's full of fascinating cells, and makes for a fun and easy experiment. A biological stain like methylene blue is recommended here (but not required). It's cheap and easy to obtain (see experiment above), but should be handled by an adult as it's toxic to ingest.
Materials:
 By kaibara87 [CC BY 2.0], via Wikimedia Commons
- Onion
- Plain glass slide with coverslip
- Tweezers
- Sharp knife (for cutting the onion, use supervision with small children)
- Methylene blue (optional)
- Dropper or pipette
Instructions:
- We'll be making a wet mount slide for this experiment. A wet mount (link) is simply when the specimen is suspended in liquid. Here it will prevent the onion from wilting and drying. To begin, drop a few drops of water onto the slide.
- Peel the onion and cut into it. Remove one of the layers and peel off a piece of the clear membrane with the tweezers. (This is the membrane in between the layers. It's thin and transparent). Try to do this in a well-ventilated area, but some onion crying may be inevitable. Wear gloves if you want.
- With the tweezers, place the membrane flat on the surface of the slide.
- Optional: add a drop of methylene blue to the slide. This helps make the cell structures more visible, but you should be able to see them without it.
- Gently place the coverslip on the slide, making sure there are no air bubbles.
- Mount the slide on the microscope and have a look. What do you see?
4. Microscope Experiments for Kids: Pond Water
You never know what you'll find creeping in ponds, puddles, or even from your own tap (although hopefully not!). For this microscope experiment, we recommend taking a few different samples and comparing them. Muddy or dirty water will probably be the most interesting.
To take samples, you can use a glass jar to collect some pond water. Drag the jar back and forth near the bottom of the pond first to stir up any microscopic life. Then scoop up the dirty water. Let it settle before you use the dropper. You don't want to cross-contaminate your samples, so don't use the same jar in different locations.
Materials:
 By Roban Kramer [CCBY-SA2.0], via Flickr
- Jar(s) with sample of water (Ponds are great. You can do a tap water one too to compare them).
- Dropper
- Concave glass slide with coverslip (A concave slide has a little depression in it for holding liquid).
Instructions:
- Use the dropper to take a sample of water from one of your jars. Drop it into the concave depression in the glass slide.
- Carefully put the coverslip on and mount it on the microscope.
- Observe the slide. Do you see anything? Be patient, as some creatures may take a while to calm down and hold still.
- If you don't see anything. Try taking another sample from the jar that's closer to the sediment layer. Try comparing the dirty water to your tap water.
5. Microscope Experiments for Kids: Fiber
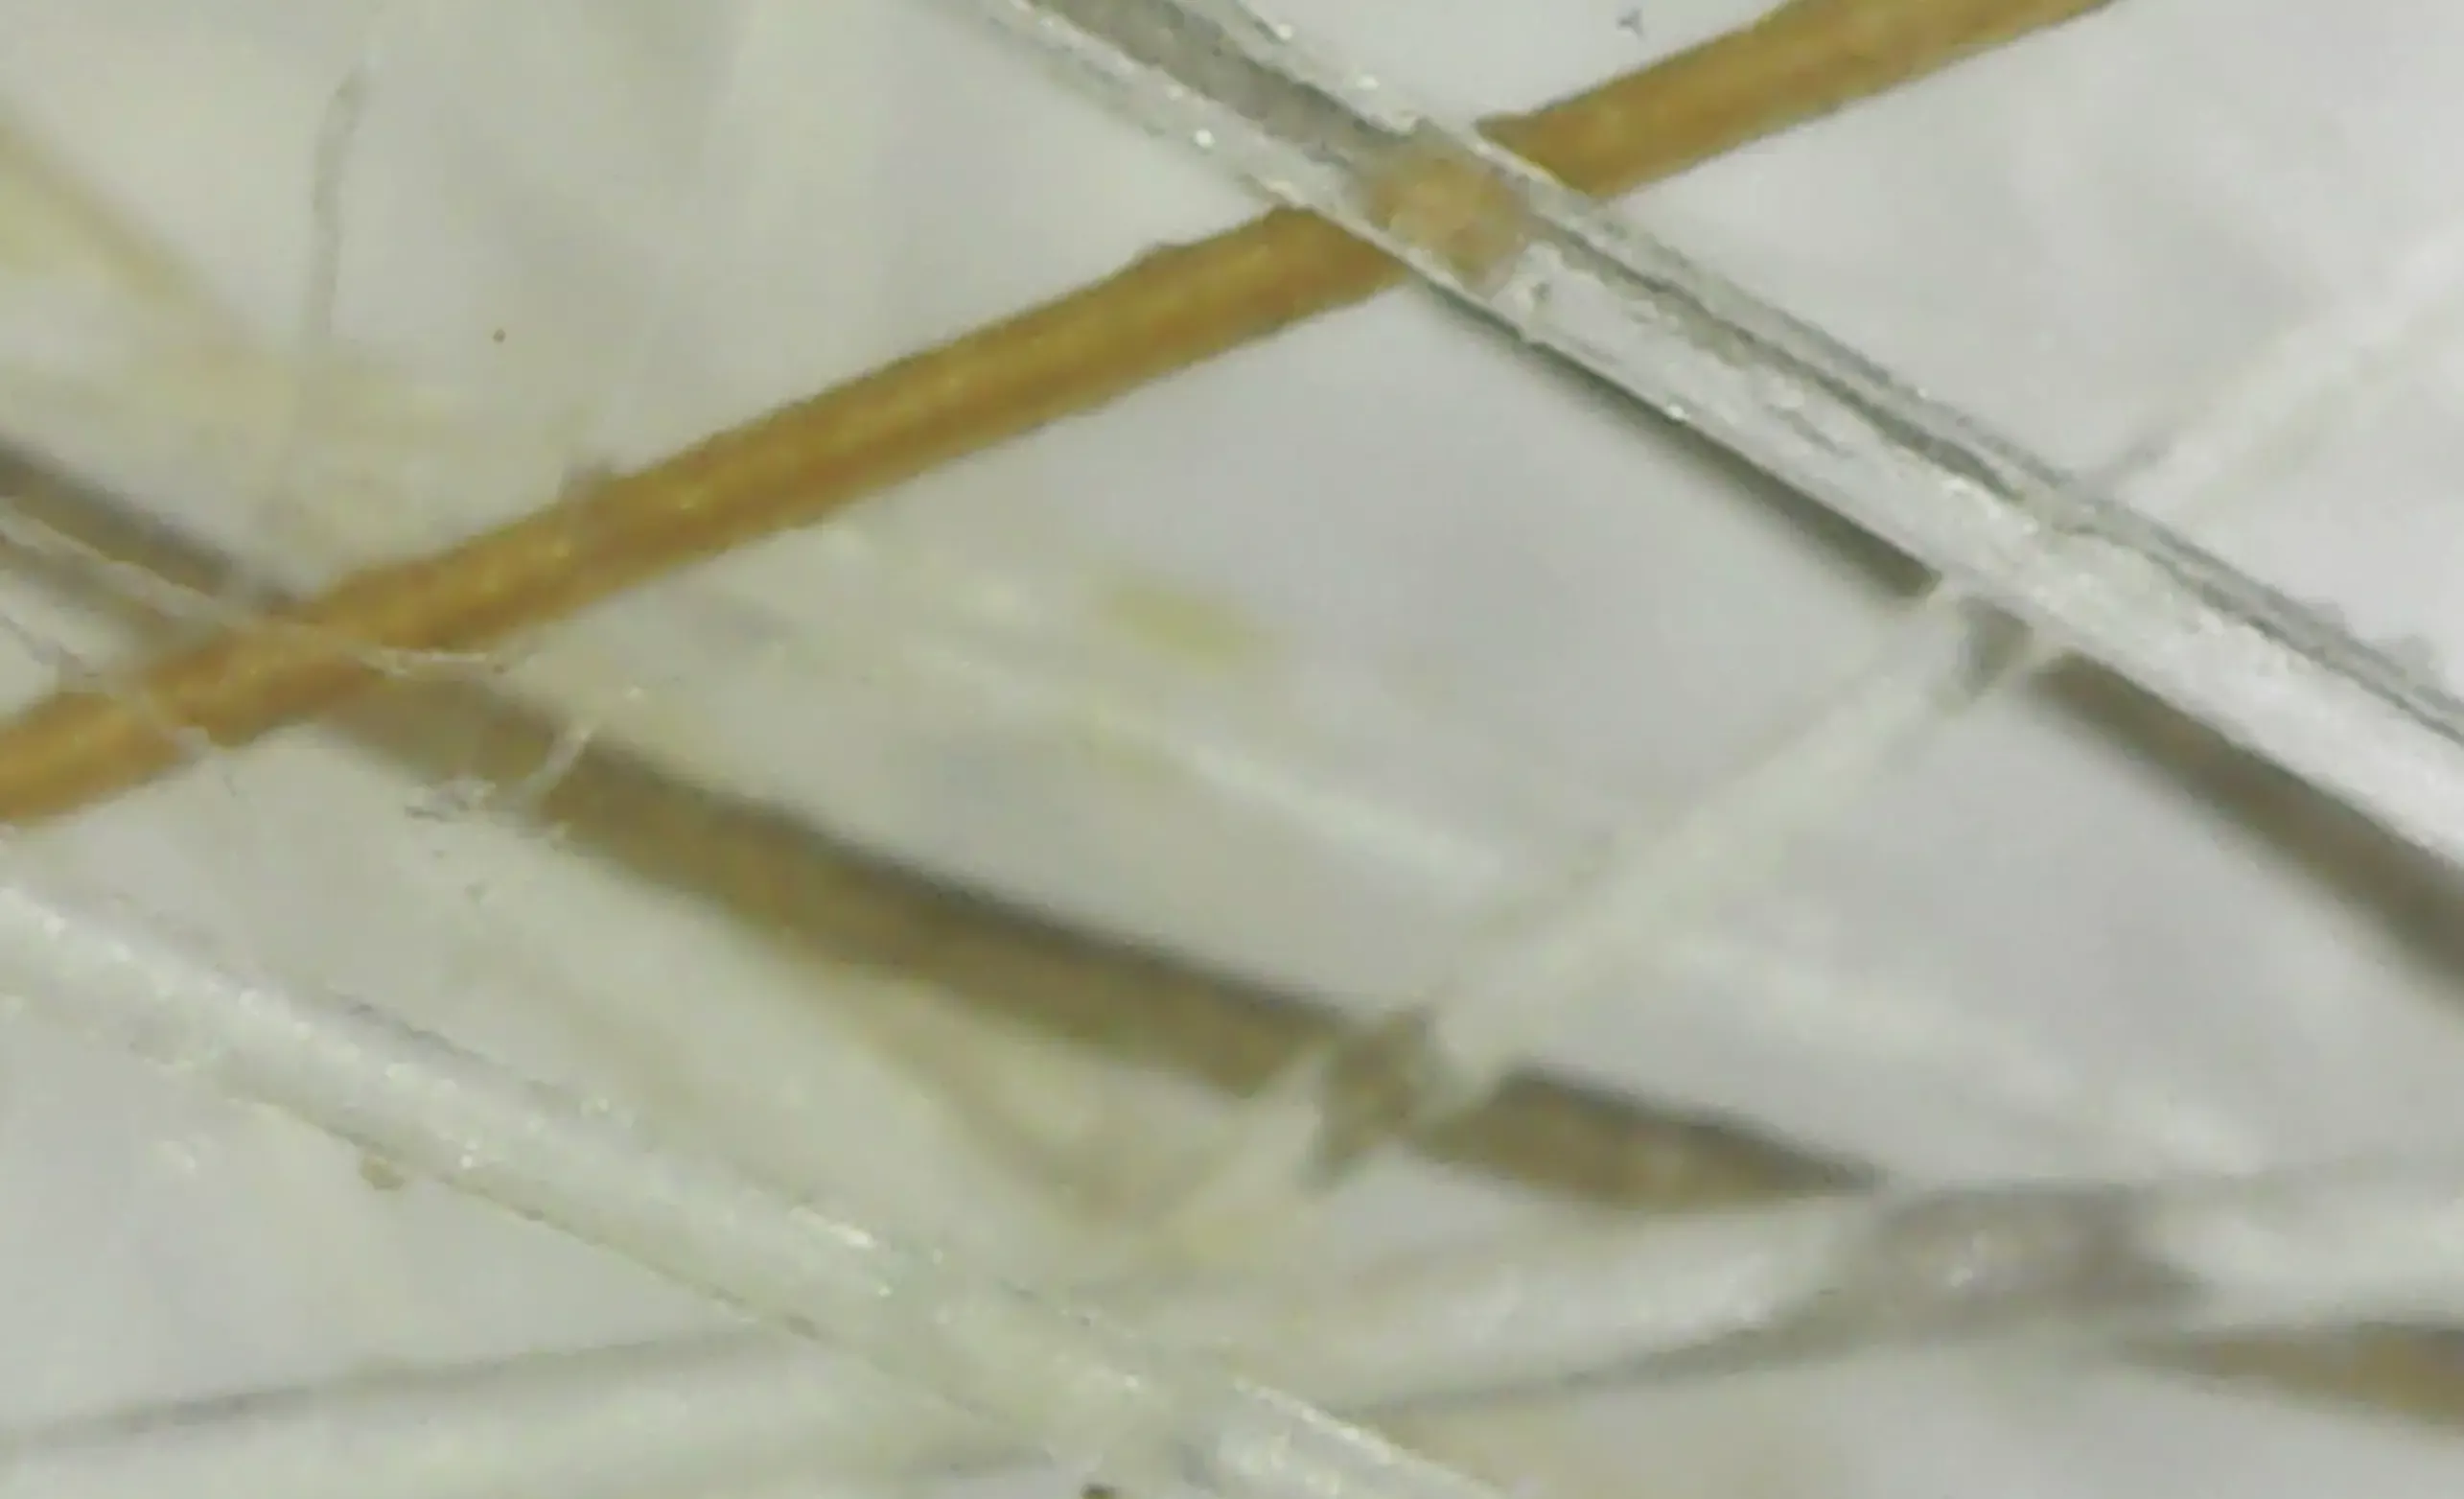
What do your jeans look like under a microscope? How about that old reindeer sweater that you dread wearing? Different articles of clothing have amazing textures.
For this experiment, you'll need some threads from various pieces of fabric. Try taking a sample from clothing made from different fibers (wool, cotton, etc). You don't need a huge chunk of it, just a few threads. They shouldn't be too long either. Try for 1/2 inch or smaller.
Here we're having you make a wet mount, meaning a slide where the specimens are suspended in water. This is optional. You can still see the fibers in a dry mount, but using water flattens the fibers somewhat and makes them easier to see.
 Denim fibers under a microscope by Rickfrombaltimore (Own work) [CC BY-SA 4.0], via Wikimedia Commons
Materials:
- Threads from clothing or fabric (as many as you like, but keep different materials on different slides)
- Plain glass slide(s) with coverslip
- Tweezers
- Scissors (in case you need to cut the threads off clothes)
- Dropper with water (optional)
Instructions:
- Use the dropper to place a few drops of water on the slide.
- Pick up a few threads with the tweezers and carefully place them in the water on the slide.
- Place the coverslip on the slide, taking care that no air bubbles form.
- Mount the slide and look at the fibers. Can you see a difference between various types and quality of fabric?
6. Microscope Experiments for Kids: Hair
There are interesting differences between hair types underneath a microscope. You can harvest hair from a hairbrush and clip it down to 1/2 inch or smaller pieces.
Try comparing your own hair to a friend's hair. Try brushing your pet. Hair will look different depending on your age and lifestyle. Try hair that's been dyed, conditioned, or frequently heat styled. It may inspire you to be nicer to your hair in the future!
In this experiment we're having you make a wet mount, meaning a slide where the specimens are suspended in water. This is optional. You can still see the hair in a dry mount, but using water flattens it somewhat and makes it easier to see.
Materials:
 Human hair by Juan de VojnÃÂkov (Own work) [GFDL], via Wikimedia Commons
- Pieces of hair (use a different slide for different samples of hair)
- Plain glass slide(s) with coverslip
- Tweezers
- Scissors (in case you need to cut the hair to 1/2 inch or less)
- Dropper with water (optional)
Instructions:
- Use the dropper to place a few drops of water on the slide.
- Pick up the hair pieces with the tweezers and carefully place them in the water on the slide.
- Place the coverslip on the slide, taking care that no air bubbles form.
- Mount the slide and look at the hair. Can you see a difference between various types of hair? Heat-treated or not? Dyed or not? What about human hair vs. cat hair?
7. Microscope Experiments for Kids: Salt vs. Sugar
Salt and sugar may look similar to the naked eye, but up close you'll see the differences.
You can try this with other spices too. What does paprika look like? How about cumin? You can also compare salt and sugar to sand.
Materials:

- Salt
- Sugar
- Plain glass slides with coverslips
- Dropper with water (optional)
Instructions:
- Place a sample of the salt on the microscope. A coverslip may not easily fit over the crunchy grains of salt, so feel free to leave it off. Just make sure you don't bump the slide with the highest power objective.
- Mount the slide on a microscope and observe the shape of the salt.
- Now repeat the process with a new slide and a sample of sugar.
- If you want, you can also make a wet mount and compare how it looks with the dry mount. Simply place a few drops of water onto the slide with salt on it and gently put on the coverslip. Repeat with sugar.
- What are the differences between the crystals? How do they look in water? Did you try any other spices?
8. Microscope Experiments for Kids: Money
Once you view a dollar bill under a microscope, you see how detailed money really is. This simple experiment will show you the interesting world of currency and give you an inkling into how much goes into anti-counterfeiting measures.
You can use a one-dollar bill for this experiment. Or, if you can talk someone out of a larger denomination, give that a try too!
 By Andrew Magill [CCBY-SA 2.0], via Flickr
Materials:
- One dollar bill
Instructions:
- You don't need a slide for this, as the dollar bill is so flat it can be mounted directly on the microscope. Just make sure the iris diaphragm is opened to its highest setting, allowing the maximum amount of light to illuminate the bill from underneath. (The iris diaphragm is the aperture wheel underneath the stage).
- Mount the bill and have a look, starting with the lowest magnification.
- Move the bill around on the stage. Can you see the different colors and patterns? Many of them can't be easily seen with the naked eye. So much for making yourself rich by color copying money! You now see how incredibly complex currency is.
- Try with different denominations. If you have access to it, try looking at paper money from other countries.
Looking for another activity for kids or teens? Have them learn the parts of a microscope by learning how to draw a microscope.
Where to Find More Microscope Experiment Ideas
You can find more ideas for microscope experiments in books from Amazon. If you like pre-owned books check eBay's books on microscope experiments.
You might also need slides and other supplies to support your microscope experiments.
I've found that I can get things quicker from Amazon, but usually cheaper from eBay if I don't mind waiting an extra day or two. Buying pre-owned is greener, too.
We hope you've enjoyed these microscope experiments for kids. After you try some of these, start thinking about other types of slides and experiments you could try. There's a fascinating world beneath what we normally see!
You might like these
The Amscope-Kids M30-ABS-KT2-W Microscope: A Top Pick
The Amscope-kids M30-ABS-KT2-W microscope is a top pick for a kids microscope. The 52-piece accessory kit has everything to get started as a young scientist.
The TK2 Microscope for Kids: A Big Hit
The TK2 microscope for kids is durable, offers crisp images, and includes a great instruction manual. Read our full review of this hit kids microscope here.
My First Lab Microscope: Duo-Scope Review
The My First Lab Microscope Duo-Scope is one of the best products we've found for budding scientists. It's inexpensive, easy to use, and fun!


If you visit an
affiliate from a link (clearly marked) on my site, I may receive a small commission at no cost
to you. As an Amazon Associate I earn from qualifying purchases. As an eBay Partner, I may be compensated if you make a
purchase through a link.
This search feature contains ads at the top and search results below that. Just scroll down to see the pages that match your search.
______________________
Recent Articles
-
Microscope Activities for Middle School Students
 Microscope activities for middle school students for engaging lessons. They work for home schoolers and middle school students in traditional classrooms.
 -
Microscope Pictures
 Microscope pictures of pond life, hair and fiber samples, and yogurt taken by a digital USB microscope and a compound microscope camera connected to a computer.
 -
How to Draw a Microscope
 If you've been given this assignment for science class, here's how to draw a microscope, step-by-step, with microscope pictures.