Making Microscope Slides Yourself
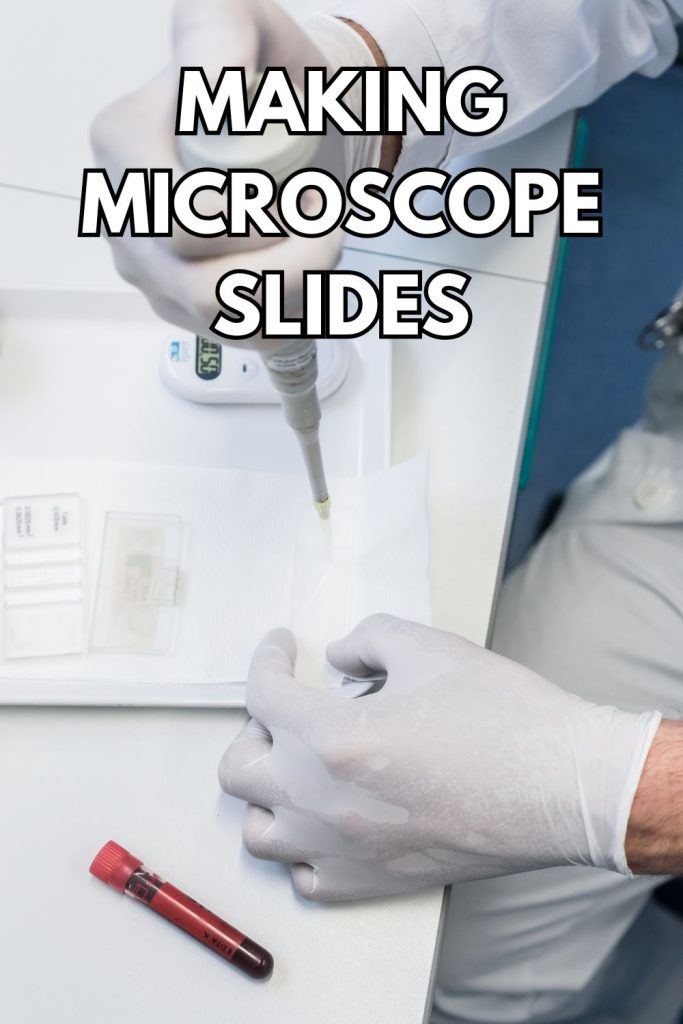
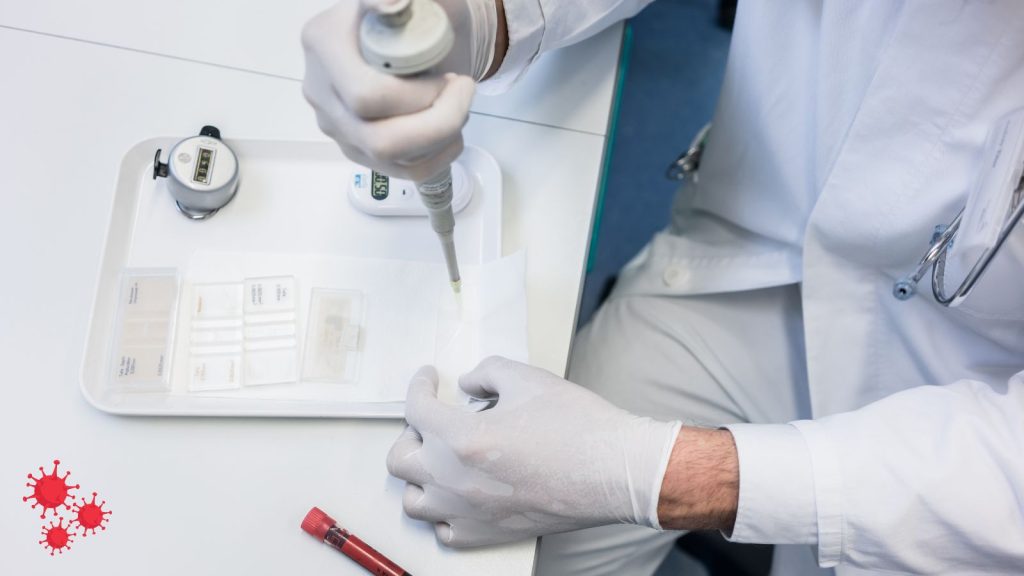
Making microscope slides is a great skill to have, as the world is filled with amazing things that are worth examining closely. The first step in making your own slides is to choose the type of mount you want. The “mount” is simply the way in which a specimen is placed on the slide.
There are three types of mounts that you can choose from when making microscopy slides. These are dry mount, wet mount, and prepared mount. Each mount has its own pluses and minuses. Your personal skill level and available equipment will determine how easy it is to make each type.
How to Make Dry Mount Microscope Slides
Instructions:
Dry mounts are the easiest microscope slides to make. You will need a glass slide and a cover slip. Dry mounts work best for samples like pollen, hair, feathers, or even dust particles caught in a microfilm filter.
The basic steps to prepare your own dry mount slide are very simple. Place the sample on the slide and cover. That’s it! The cover will work to protect both your sample and objective lenses.
Advantages:
One of the significant advantages of dry mount slides is their accessibility and ease of use. They don’t require any sophisticated techniques or materials to make, making them particularly suitable for beginners in microscopy. The basic materials and equipment required, such as a glass slide, coverslip, and the specimen of interest, are usually available and affordable.
Disadvantages:
Although making microscope slides in the dry mount is easy, there are some disadvantages. These mounts are temporary unless you seal the coverslip in some way.
It is also harder to see the more intricate structures of some species. For that, you will have to learn how to make a prepared mount.
How to Make Wet Mount Microscope Slides
Instructions for wet mount slides:
Making microscope slides in a wet mount has a lot of advantages. The liquid refraction makes it much easier to see intricate structures. If the specimen is alive, the liquid will make it possible to view both the natural color and mobility patterns.
To make a wet mount, place a few drops of your desired liquid on the slide. Add the specimen to your liquid, and then place a few more drops on top of it. This ensures that the specimen will be covered in the liquid. If you are looking at an aquatic specimen like algae, use the water in which the specimen is residing.
Next apply the cover slip. This is done very gently in order to avoid the formation of air bubbles. Slowly lower the cover down at an angle, and it will eventually be held in place by surface tension. If the coverslip is floating on the bottom half of the slide, you have used too much liquid.
There are a variety of liquids that are acceptable for making a wet mount, from tap water to glycerin. The important thing to consider is your type of specimen. Some specimens don’t do well when faced with particular liquids. Be sure to choose your liquid carefully to match your specimen.
Disadvantages of wet mount slides:
Wet mounts have disadvantages as well. Finding a moving specimen can be a problem. The slides also tend to dry out under the light of the microscope. If your wet mounts are drying out before you are ready, apply an additional drop of liquid under the cover slip.
How to Make Prepared Mount Microscope Slides
Instructions for prepared mount slides:
Making prepared mount slides is more involved, although the advantage is that once you are done you can keep them for a long time.
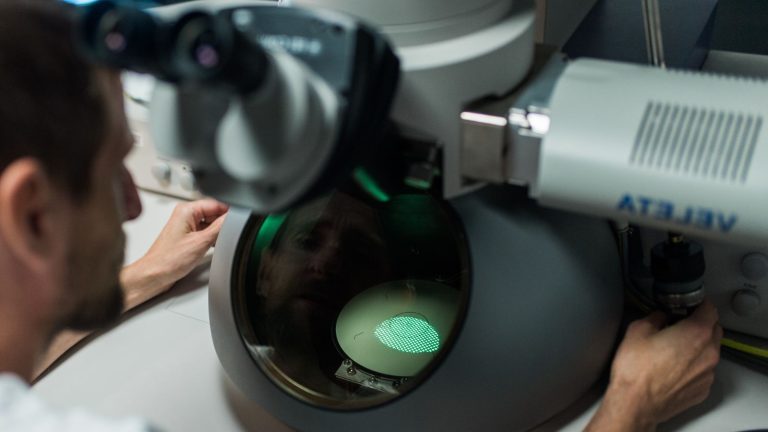
First your specimen needs to be sliced very thin. The best tool for this is a microtome, an instrument used to cut materials into featherweight slices.
Once the specimen is thin enough, place it on your slide. You will have to remove any excess water. Depending on the specimen you can air dry, blot, or use a heat source to dry the sample.
You will want to add a dye like methylene blue in order to stain the intricate structures of the specimen. You can add a drop of the dye to the sample, then place the cover on top. Adding a fixative to the specimen before you put on the cover slip will help prevent decay.
The specimen to the right, a piece of a mouse quadriceps, is stained with Hematoxylin. Note how clearly you can see the tiny structures, which are individual muscle fibers.
If you have a specimen that is in a wet mount, there is a really simple way to stain it. Place a drop of dye on the edge of the cover slip. Put a small piece of paper towel at the opposite edge. As the paper towel absorbs the liquid, the dye should be pulled under the cover and across the specimen.
The prepared mount method is more complex, so it’s not often done by the hobby microscopist, but Amazon has some supplies for the purpose. These slides are for biological or pathological research.
If you need new microscope slides or supplies, Amazon can deliver them quickly.
Making Microscope Slides: Conclusion
Never fear though, if you want to examine more complex structures but don’t have the time/knowledge to prepare your own specimens you can always shop prepared slides at Amazon.
With a little practice, making microscope slides isn’t all that difficult. You may even enjoy it when you master some of the techniques. Once you know the steps needed, nothing can stand in the way of your own curiosity!