Microscope Drawing: How to Sketch Microscope Slides
In this modern day, knowing how to sketch a good microscope drawing may not seem like a necessary skill. Yet even with the technology to digitally capture images, many scientists still depend on their abilities to sketch microscope slides.A sketch of a slide is considered data, and needs to reflect what is seen through the objective lenses.
The ability to draw accurate slides takes both patience and practice, but in the end it’s not too difficult. You don’t have to be Leonardo da Vinci, but you should aim to make the most realistic picture that you can. Below are some easy steps on how to do this.
How to Draw Microscope Slides
Organize and orient your field of view:
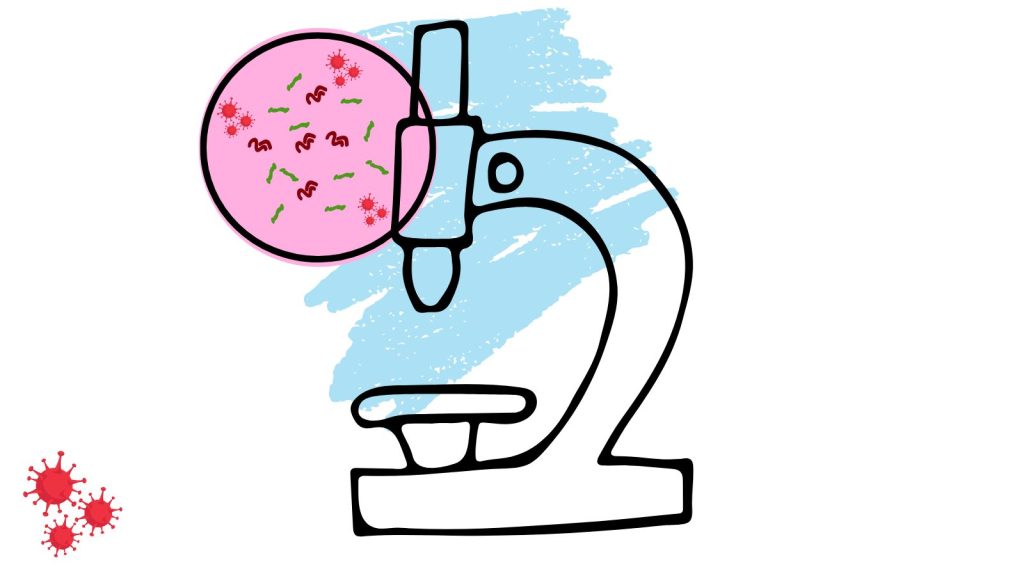
To begin, draw a circle as large as possible with a pencil. An 8.5 x 11-inch piece of paper is good size for beginners.
The circle represents what you see through the eyepiece of the microscope. Using thin lines, divide the circle into quarters in order to organize the picture.
Look into your microscope and find the largest shape in your field of view. Mentally divide your field of view and determine where the shape falls within the four quarters.
Outline the general shapes:
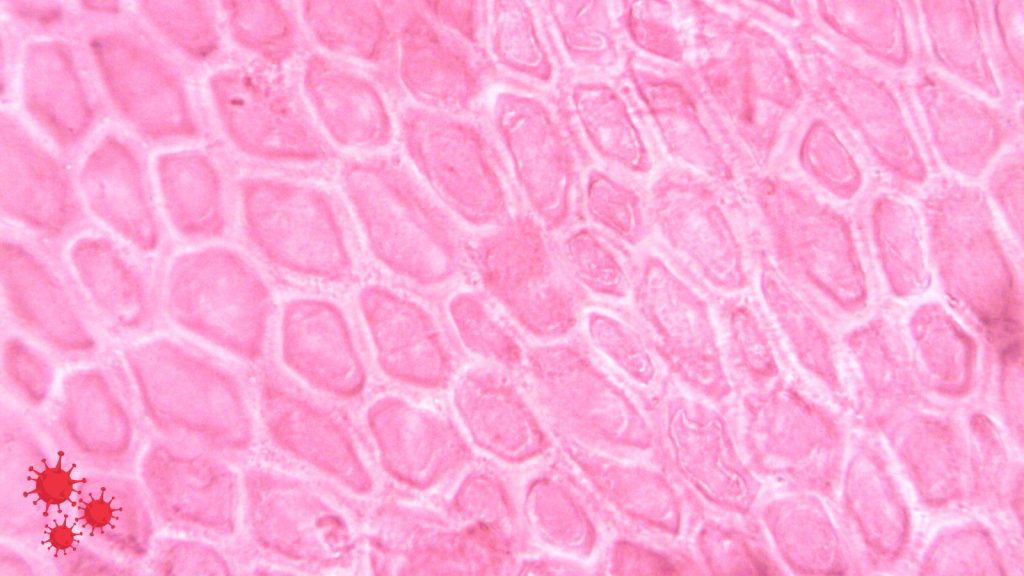
Draw the outline of largest shape onto the paper, making it fit within the quarters. Keep you pencil drawings light and adjust the shape as needed. This may require going between the microscope slide and the drawing in order to get the proportions and shape correct.
Now move to the other shapes in your field of view. Always work from the largest shapes down to the smallest shapes. Constantly check the slide to make sure that the shapes are correct and proportional to each other.
Once the general outline of all the shapes is complete, check the view of the slide once again. You will also need to make sure that the empty spaces on the slide and your microscope drawing are equivalent. The shapes and free space should give a relatively accurate image.
Fill in the details:
You can now move onto the internal structures of the shapes. It may be helpful to put crosshatches into each shape in order to get the proportions correct, like you did with the first circle. Again, start with the bigger shapes and work your way down to the smaller shapes. Make sure that you compare the microscope slides to your drawing.
Once you have the basics, you can move onto making the microscope drawing more detailed. The shapes that you have sketched will be amorphous when compared to the detail in the actual slide. These sketched shapes serve as placeholders for the detailed image.
Now you will want to sharpen your drawing and try to make it match what you actually see on the slide. Begin by checking the microscope and slowly add more details to the shapes on your drawing. It is best to start with the simplest shape. Keep your markings light so that you can erase and redraw as needed.
Add shading and color:

Once you are happy with the representation, go back and put heavier lines onto your microscope drawing. A pen works great for this part if you are confident and able to use one. Start with the large outer shapes first and work your way down into the smaller, internal features.
As you finish these last steps of how to draw microscope slides, add any detail that you think is missing. Utilize pencil shadings, swirls, lines or whatever else will give your picture more accuracy. Always double check against the actual slide to ensure your drawing is realistic.
If you would like to add some additional brilliance, you may want to bust out the colored pencils. Colored pencils can add detail and emphasis; just keep your enthusiasm curbed and don’t get too carried away with the color!
Now It’s Your Turn: Draw This Microscope Slide
This is a prepared microscope slide containing the wing of a bee.
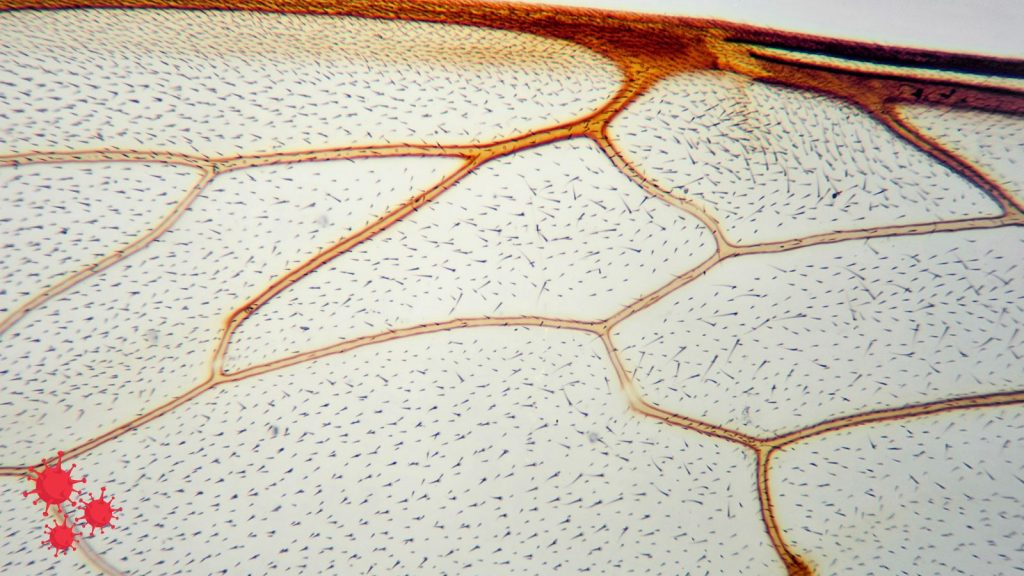
Draw this to show the gold colored veins, and the textured specks scattered across the transparent surface of the wing material.
Easy peasy, right?
If you need new microscope slides or supplies, Amazon can deliver them quickly.
Microscope Drawing Conclusion
Years ago, scientists relied on their ability to transfer what they saw on microscope slides to paper. It was the only way to record their observations and discoveries with the rest of the world.
Modern technology can capture the image of the specimen, but knowing the art of microscope drawing is a skill that is always good to have on hand.
With a little time and patience, you too can learn how to sketch microscope slides!
