How to Draw a Microscope, Step by Step
Welcome to this mini-tutorial, a step-by-step guide on how to draw a microscope. Whether you’re studying biological sciences, an adult looking to help your child with a project, or just someone with an interest in scientific drawings, this walk-through will help you create the perfect microscope diagram.
Drawing a microscope diagram doesn’t just help visually understand its structure; it also aids in understanding the parts of a microscope and their functions. This is a perfect task to add to your microscope activities for middle school students.
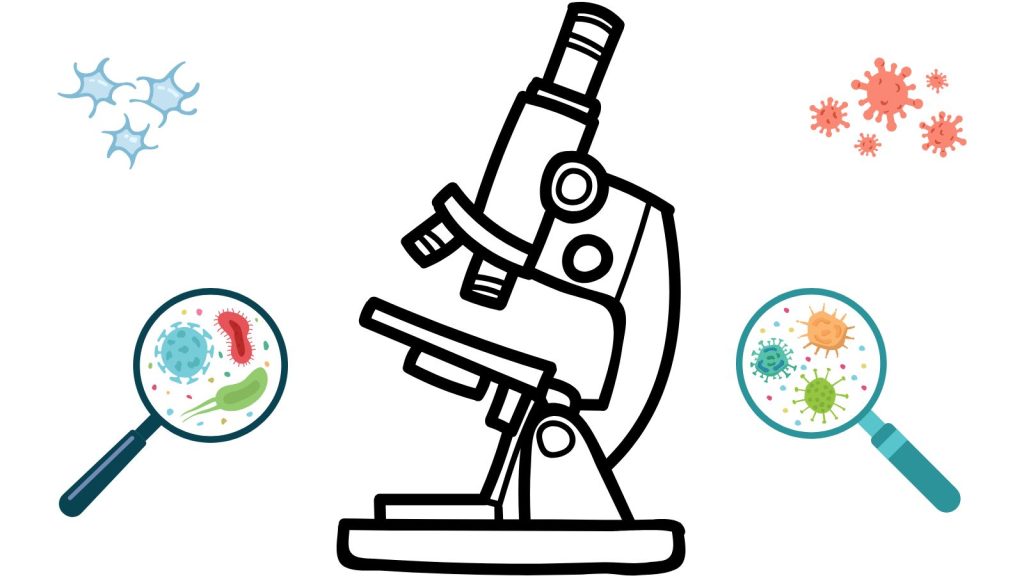
First, let’s break down the traditional microscope into its fundamental components:
- the body or frame supports the microscope parts and consists of a base and an arm
- the eyepiece and tube
- the objective lens or lenses
- the stage where the specimens are placed
- the illuminator (a light source), which could be a mirror or a light.
Understanding these parts not only helps in drawing a microscope accurately but also enables a well-rounded comprehension of its functionality.
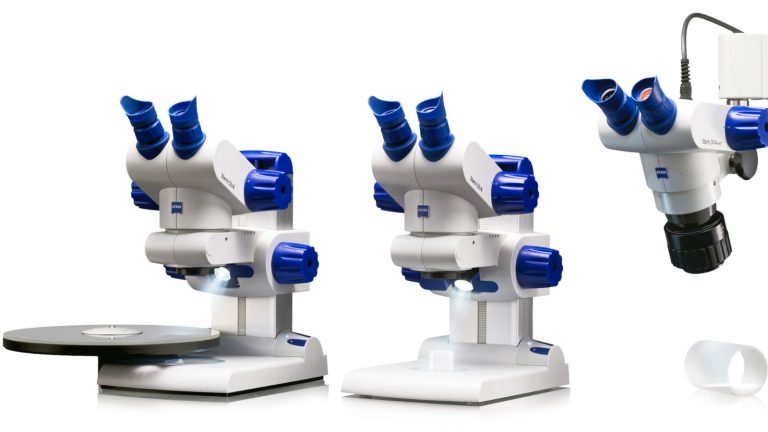
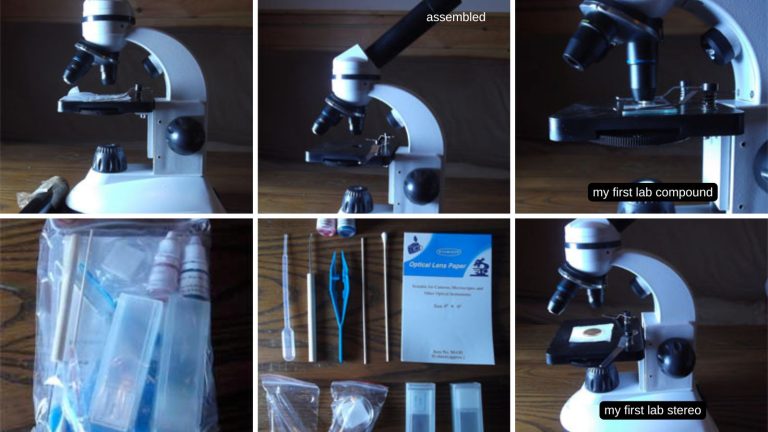
There are several different types of microscopes, like hand-held microscopes or digital microscopes. This drawing exercise is focused on the traditional microscope.
Let’s Draw a Microscope
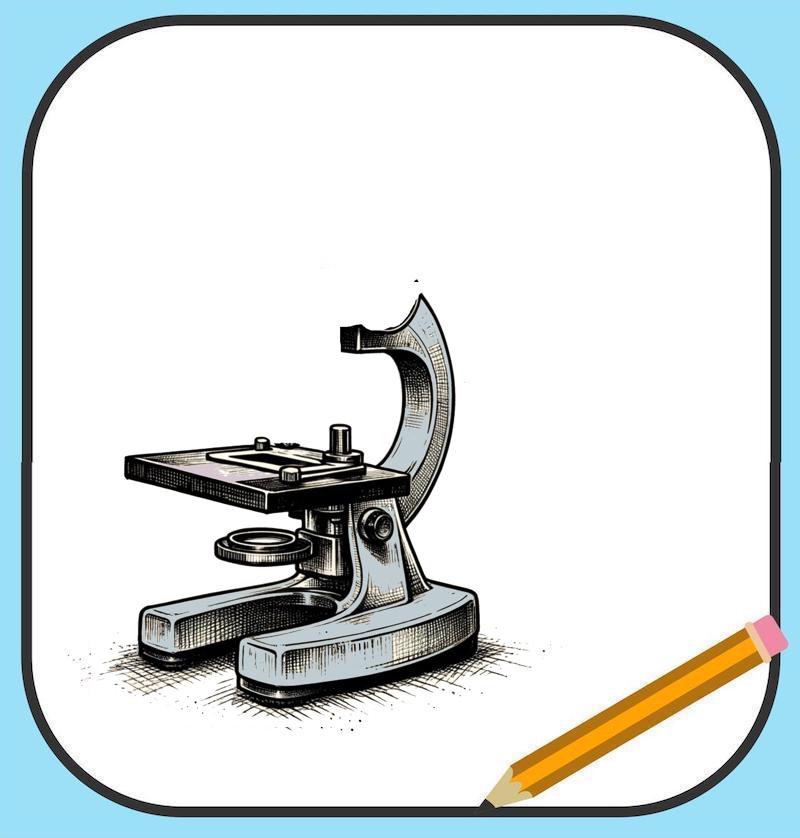
Step 1 – Draw the Base
Let’s begin with the body or frame, which forms the backbone of your microscope drawing.
Draw the base first. This is the part of the microscope that sturdily supports all the other parts so it won’t easily tip over.
This example picture shows details and shading that you might want to save for last.

Step 2 – Sketch the Arm
Next, there is an arm or post on one side extending from the base upwards.
This is the part that will support the head section that suspends above the stage.
(The head connects the nosepiece and lenses to the upper tube.)

Step 3 – Add the Illuminator
Also connected to the base is the illuminator, a light source, whether a mirror or a light bulb.
This sends light up through the stage to illuminate the specimen.
The light is integral because it illuminates the specimen for better visibility under the various objective lenses.

Step 4 – How to Draw a Microscope Stage
Above the illuminator, you will draw the stage.
The microscope stage is a platform that holds the specimen over an opening that allows light from the illuminator to pass through.
This picture shows a slide in position on the stage.
Step 5 – Draw the Head Section
Attached to the top of the arm, draw the head unit, which connects the nosepiece and lenses with the tube above.
This example doesn’t show the head as clearly as other microscope pictures do, so to do yours better look at a few other microscope images.
Attached to the tube and arm, draw the focus knob that adjusts the distance between the lenses.

Step 6 – Add a Sketch of the Eyepiece
The last part of the microscope to draw is the eyepiece at the top of the tube.
This is where the microscope user looks into the microscope to see the specimen under magnification.
Some microscopes come with two eyepieces so that you can change the magnification level.
This is possible because the total microscope magnification is determined by multiplying the eyepiece lens power by the objective lens power.
For example, a 10x eyepiece and a 100x objective gives 1000x magnification.
Now you can tidy up your drawing, and add in smaller details. Think about art class where you learned how to create depth and shadows.
Step 7 – Label the Parts of a Microscope
Step 7 is optional, depending on your goals for the drawing.
The last part of drawing the microscope diagram is to add the labels showing the parts you have drawn.
If you really want to make it special, color in some of the areas and add a title and artist’s name and date.

With these steps, you’ve mastered how to draw a microscope and created a realistic looking microscope picture. You can add labels to the various components for educational purposes or leave it as it is.
Remember, as in all things, practice makes perfect.
The secret to drawing an excellent microscope picture is attention to detail and familiarity with the structure and components.
This guide about how to draw a microscope is designed to take you step by step through the drawing, breaking it down to its component parts.
With each stroke, you’re not just drawing but also creating and imparting knowledge.