- Home
- Dark Field Microscopes
Bringing Light to the Dark Field Microscope
Have you ever heard of a dark field microscope? While such a name may sound like a sci-fi gadget used to measure black holes, in reality it's just a handy tool used to view certain types of translucent samples. The average microscope user may not know about the concept of dark field microscopy, yet it can shed new light on the old way of viewing specimens.
Most people who have survived a biology class know what a light field microscope is. This type of scope uses bright field illumination, meaning it floods the specimen with white light from the condenser without any interference. Thus the specimen shows up as a dark image on a light background (or white field if you will).
This type of unit works best with specimens that have natural color pigments. The samples need to be thick enough to absorb the incoming light; so staining is usually paired with this type of microscope.
Yet what if the specimen is light colored or translucent, like the plankton on the right? It certainly won't stand out against a strong white background. Additionally, some specimens are just too thin. They cannot absorb any of the light that passes through them, so they appear invisible to the user. This is where the concept of dark field illumination comes in!
Rather than using direct light from the condenser, one uses an opaque disk to block the light into just a few scattered beams. Now the background is dark, and the sample reflects the light of the beams only. This results in a light colored specimen against a dark background (dark field), perfect for viewing clear or translucent details.

On a grand scale, the same thing happens every day when you look up at the sky. Do the stars disappear when it's light out? Of course not! They're still there, their brilliance blotted out by the mid-day sun.
If you're still having a hard time visualizing this concept, think of a dusty room with the light on and the door open. You may feel the dust affecting your breathing, but you probably won't see it flying through the air.
Now turn off the light and close the door to just a sliver, while leaving the light on in the adjacent room. If you look at that sliver of light coming through the door, you'll see all sorts of dust motes suspended in it. You're employing a similar principle when you use dark field illumination!
When to Use a Dark Field Microscope
Dark field microscopes are used in a number of different ways to view a variety of specimens that are hard to see in a light field unit. Live bacteria, for example, are best viewed with this type of microscope, as these organisms are very transparent when unstained.
There are multitudes of other ways to use dark field illumination, often when the specimen is clear or translucent. Some examples:
 Caffeine crystals magnified
- Living or lightly stained transparent specimens
- Single-celled organisms
- Live blood samples
- Aquatic environment samples (from seawater to pond water)
- Living bacteria
- Hay or soil samples
- Pollen samples
- Certain molecules such as caffeine crystals (right)
Dark field microscopy makes many invisible specimens appear visible. Most of the time the specimens invisible to bright field illumination are living, so you can see how important it is to bring them into view!
Advantages and Disadvantages of a Dark Field Microscope
No one system is perfect, and dark field microscopy may or may not appeal to you depending on your needs.
Some advantages of using a dark field microscope are:
- Extremely simple to use
- Inexpensive to set up (instructions on how to make your own dark field microscope are below)
- Very effective in showing the details of live and unstained samples
Some of the disadvantages are:
- Limited colors (certain colors will appear, but they're less accurate and most images will be just black and white)
- Images can be difficult to interpret to those unfamiliar with dark field microscopy
- Although surface details can be very apparent, the internal details of a specimen often don't stand out as much with a dark field setup.
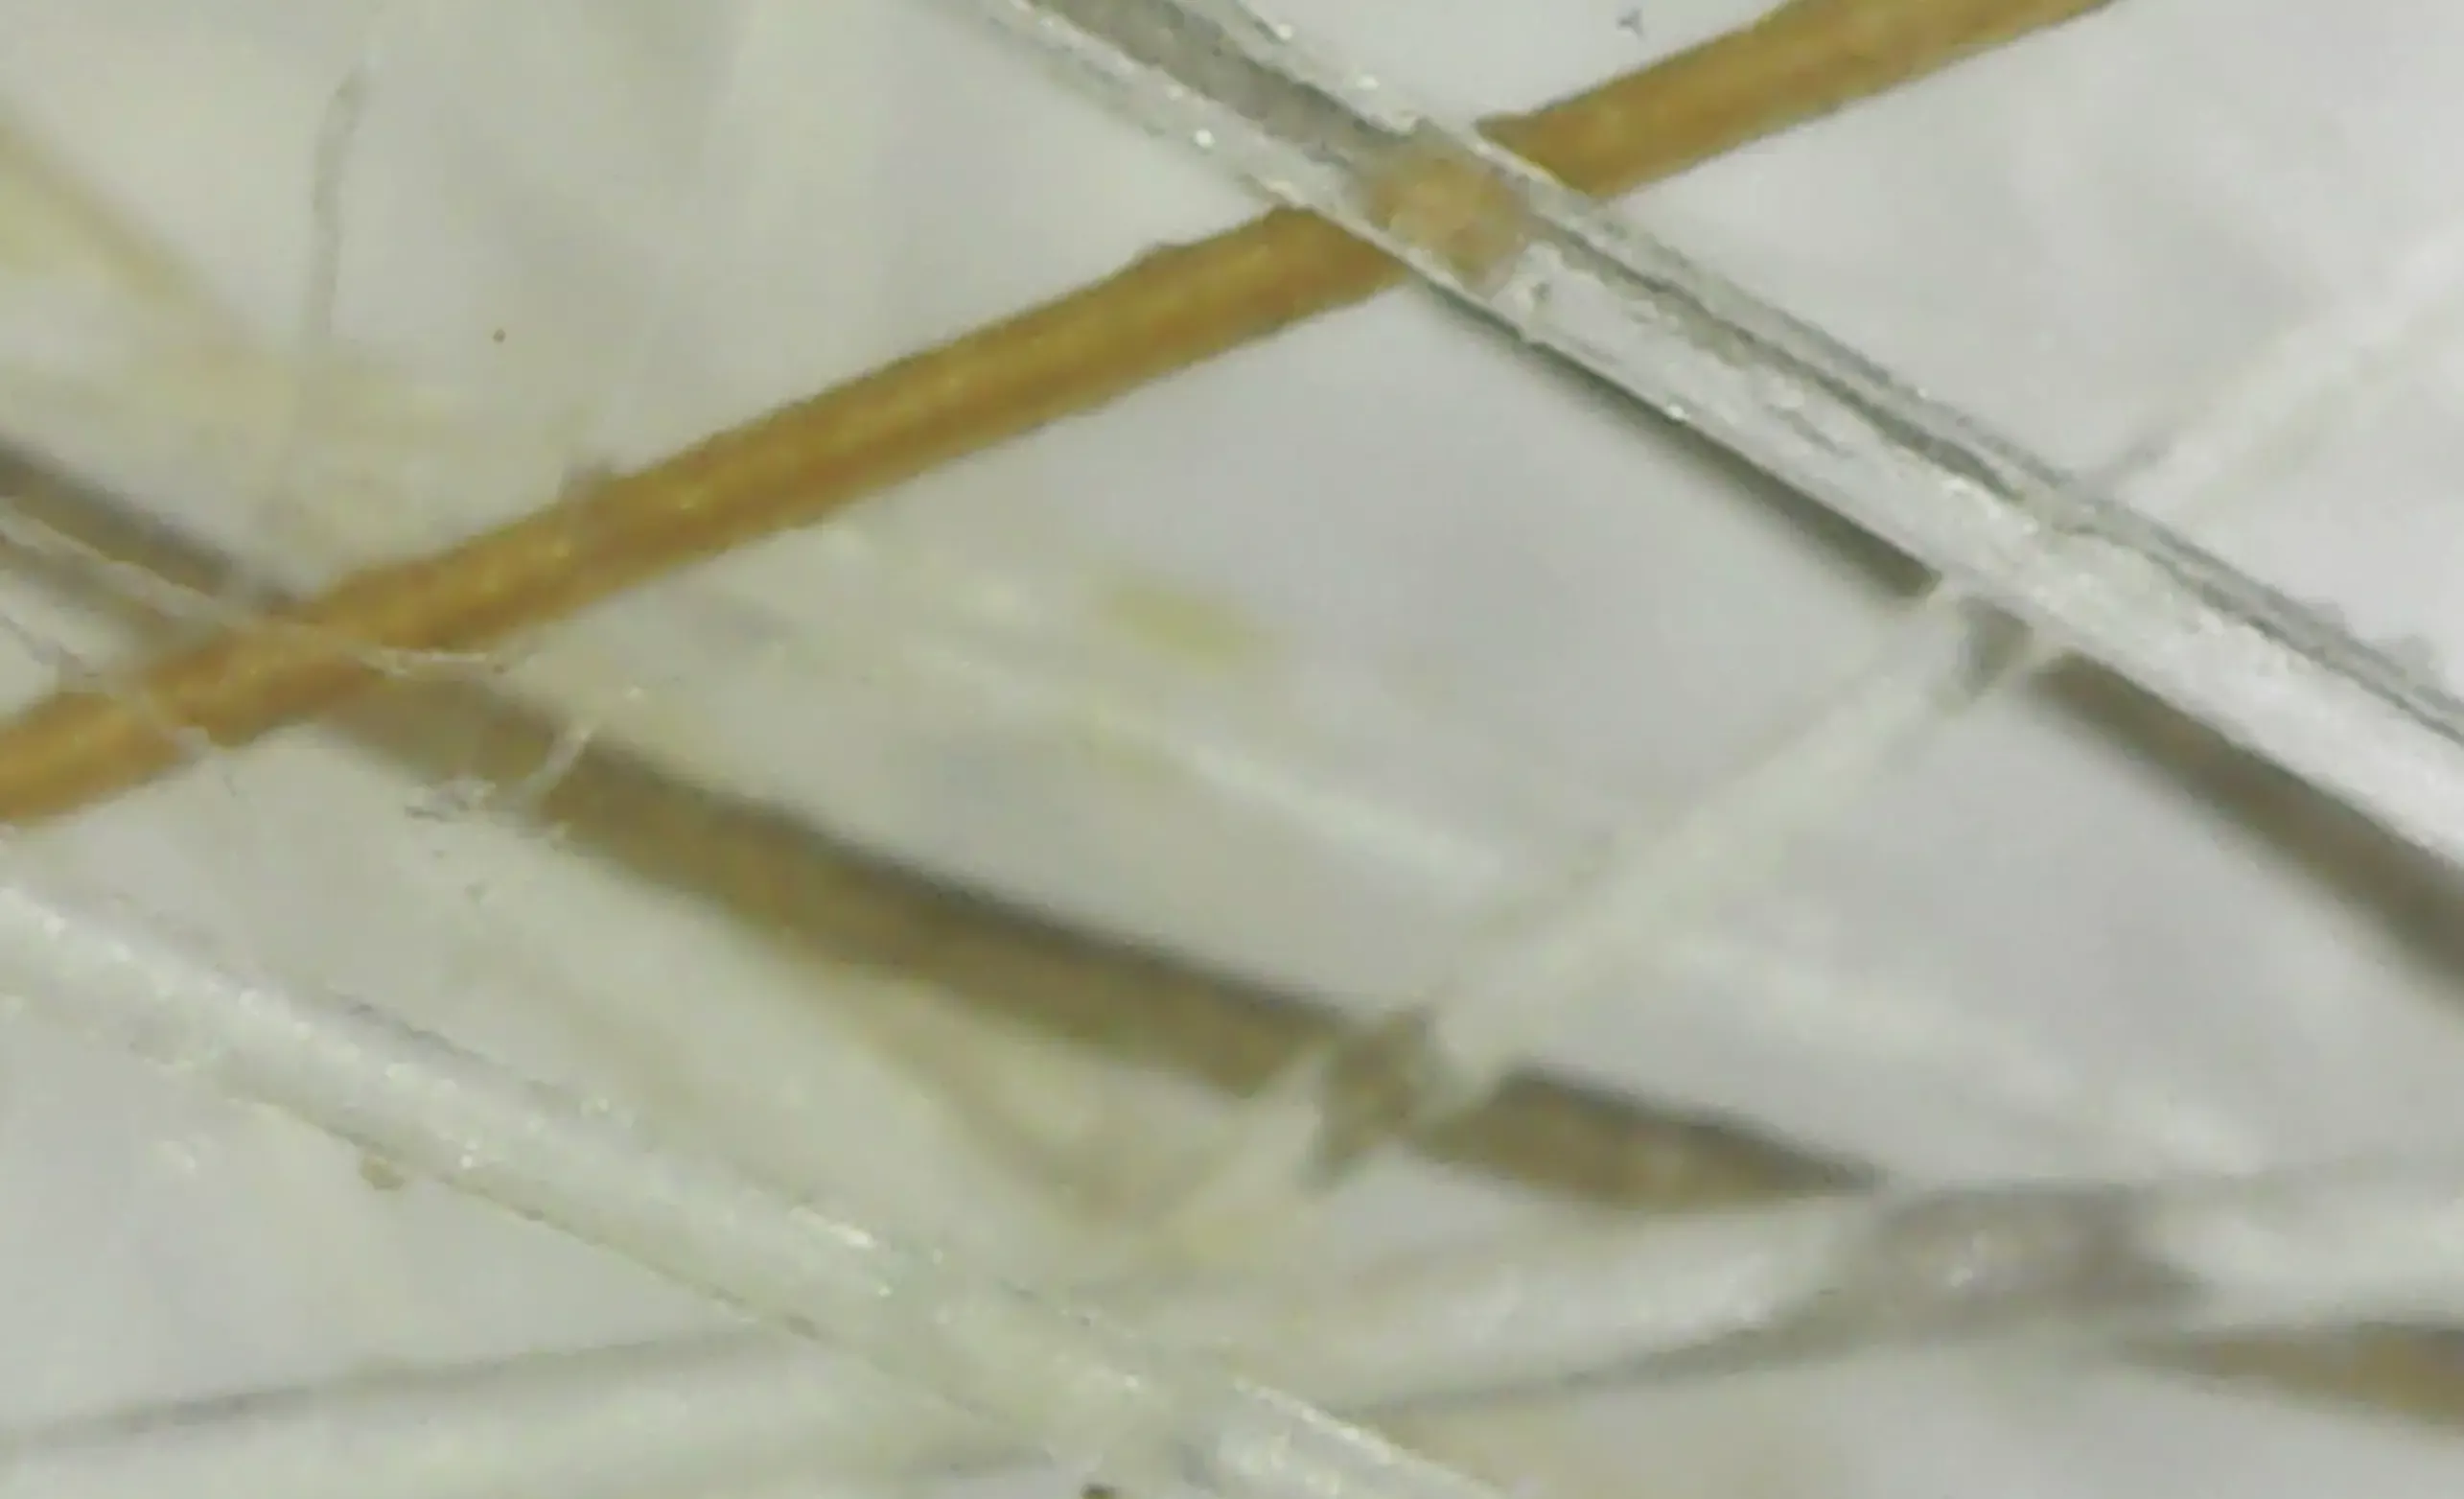
Below are contrasting examples of dark field (left) versus bright field (right) illumination of lens tissue paper. Note how they both create a different style of image.


Admit it, by now you're curious to check out your own dark field! You can create one with minimal time and effort. Just read on...
How to Make a Dark Field Microscope
You don't need to buy a huge expensive set-up to experiment with dark field illumination.
To create a dark field, an opaque circle called a patchstop is placed in the condenser of the microscope. The patchstop prevents direct light from reaching the objective lens, and the only light that does reach the lens is reflected or refracted by the specimen. Easy enough, right?
If you want to make a dark field microscope you'll first need a regular light microscope. Below is your full list of "ingredients":

- Microscope
- Hole punch
- Black construction paper
- Transparency film
- Glue
- Scissors
- Pen
Now use the following steps to make your patchstop:
- Set up your microscope and choose the lowest-power objective lens.
- Set the eyepiece aside somewhere safe.
- Open the diaphragm as wide as possible. Then slowly close it until is just encroaches on the circle of visible light.
- Now bend over and take a look at the diaphragm from below. See that opening? It's only slightly smaller than the finished patchstop you'll create.
- Punch a few circles in the black construction paper with the hole punch. Measure one against the diaphragm opening. If it's more than 10% larger, cut it down to about that size (10% larger than the diaphragm opening). If it's smaller, cut out a larger circle.
- Cut a 5 cm square of transparency paper.
- Glue the black circle onto the transparency film, about 2 cm from the corner of the square. In that free 2 cm of paper, write the correct magnification power of your objective.
- Mark the patchstop with the correct magnification power.
- Repeat the above steps for all the objective powers except the oil immersion lenses.
Now use your patchstop to turn a light field unit into a dark field microscope:
- Select the correct patchstop for the objective power to be used.
- Slip the patchstop between the filter holder and condenser. If your microscope has no filter, hold it manually below the condenser.
- Remove the eyepiece.
- Open the diaphragm and move the patchstop until the light is blocked entirely. Use tape to secure it if there is no condenser on your microscope.
- Replace the eyepiece and examine the sample.
You did it!
As you can see, a dark field microscope can let users see specimens in a whole new way, bringing those into focus that don’t stand out under intense light. Using dark field illumination can open up a whole new view of microscopy.
References:
The first picture of the plankton was taken by Uwe Kils and is from Wikipedia under the GNU Free Documentation License.
The second picture of caffeine crystals, the third and fourth pictures of tissue paper, and the last picture of a microscope setup were taken by Richard Wheeler and are from Wikipedia under the GNU Free Documentation License.
You might like these
What Is a Stereo Microscope and How Does it Work?
A stereo microscope is special in that it produces a 3D image of the specimen. Learn more about these unique models, who invented them and how they work.
Exploring the Digital Microscope
A digital microscope has many fun advantages, from high picture quality to the ability to share images. Learn how they work, their cost, and choosing one.
The Best USB Microscope Reviews: Fun for Everyone
What is a USB microscope and which is the best USB microscope? We chose four of our favorites based on image quality, features, and price.


If you visit an
affiliate from a link (clearly marked) on my site, I may receive a small commission at no cost
to you. As an Amazon Associate I earn from qualifying purchases. As an eBay Partner, I may be compensated if you make a
purchase through a link.
This search feature contains ads at the top and search results below that. Just scroll down to see the pages that match your search.
______________________
Recent Articles
-
Microscope Activities for Middle School Students
 Microscope activities for middle school students for engaging lessons. They work for home schoolers and middle school students in traditional classrooms.
 -
Microscope Pictures
 Microscope pictures of pond life, hair and fiber samples, and yogurt taken by a digital USB microscope and a compound microscope camera connected to a computer.
 -
How to Draw a Microscope
 If you've been given this assignment for science class, here's how to draw a microscope, step-by-step, with microscope pictures.